
Menu

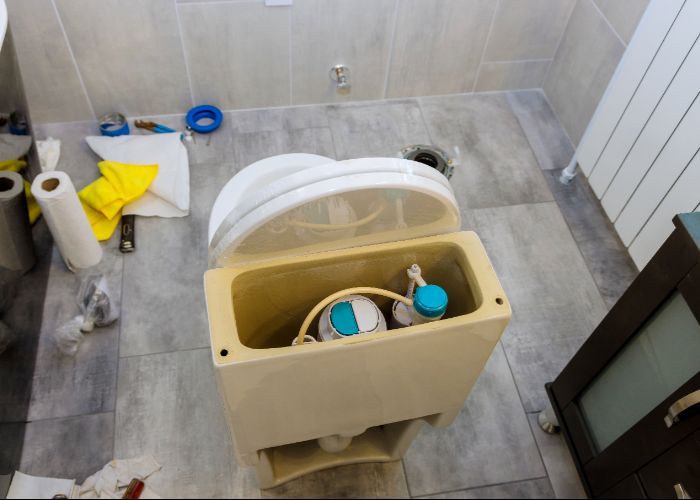
A running toilet is more than just a nuisance. It can quietly drive up your water bill and cause unnecessary wear on parts inside the tank. Learning how to fix a running toilet is a valuable skill that saves both water and money over time. With a few tools and some basic knowledge, you can restore your toilet to proper working order in less than an hour.
If you’re wondering how to fix a running toilet, the short answer is that most problems in your home plumbing can often be resolved by replacing parts, cleaning away mineral buildup, or adjusting the water level inside the tank for proper operation.
Even if you have never handled a plumbing task before, this guide will walk you through each step in simple, clear terms. We will explore the most common causes, show you exactly what tools and parts to gather, and give you a step-by-step plan to get the job done. By the end, you will know when a quick repair will do the trick and when it is time to call in a professional plumber.
A running toilet usually comes down to a few specific problems. In many cases, these are among the most common issues homeowners face in general home plumbing maintenance. Identifying which one you have is the first step toward an easy repair. Each of the following issues creates a different symptom, making it easier to match the cause to your situation.
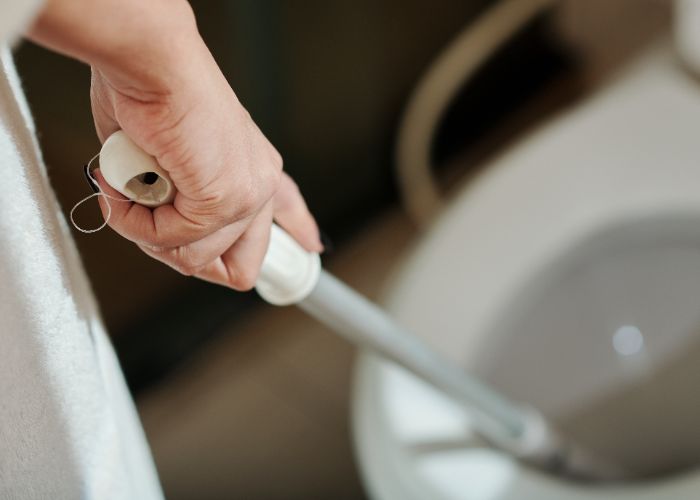
When the flapper no longer seals correctly, water continues to leak into the bowl. This is one of the most common reasons for a running toilet, and it is often caused by worn materials or small obstructions.
A faulty or misadjusted fill valve can keep water flowing even after the tank should be full. This problem wastes water and puts unnecessary strain on your toilet’s internal parts.
If the chain connecting the flush lever to the flapper is too long, it can snag or prevent a tight seal. If it is detached, the flapper may not open or close as it should.
Hard water can leave mineral deposits inside the tank, especially on moving parts like valves and seals. This can lead to slow leaks and incomplete closure.
Before tackling a running toilet, it is best to have everything ready. This ensures you can move through the repair without stopping to look for a missing item.

Having the right tools will make repairs faster and less frustrating. These common items are likely already in your home toolbox.
A clean working area makes it easier to spot problems and keeps debris from interfering with repairs.
If you suspect an old or damaged component, having a few common replacement parts on hand can save you an extra trip to the hardware store.
Even beginners can fix a running toilet by following a clear, step-by-step approach. The process is straightforward, but it is important to work carefully and avoid rushing. Each step builds on the previous one, so take your time and check your work before moving on.

Start by locating the shutoff valve, which is typically found on the wall or floor just behind or beside the toilet. Turn the handle clockwise until it stops. This will cut off the water flow to the toilet, preventing new water from entering the tank while you work. Shutting off the water first keeps your work area dry and reduces the risk of accidental spills.
Once the water is off, press the flush lever to empty as much water from the tank as possible. Hold the lever down to allow the tank to drain fully into the bowl. There will likely still be a small amount of water at the bottom of the tank, which you can remove with a sponge or towel. Place the sponge inside the tank and soak up the remaining water, wringing it into a bucket as needed.
Lift the tank lid carefully and set it aside somewhere safe. Find the flapper at the bottom center of the tank, attached to the overflow tube. Gently lift it and inspect for any signs of warping, cracks, or visible wear. Also, look for mineral deposits or debris that could prevent it from sealing properly. If the flapper feels brittle or does not sit flat, it will need to be replaced.
If you determine the flapper is faulty, detach the chain connected to the flush lever arm. Slide the flapper’s side hooks off the pegs on the overflow tube and remove it from the tank. Take the old flapper with you to the hardware store to match the size if you do not already have a replacement. Install the new flapper by hooking it onto the overflow tube pegs and reconnecting the chain to the flush lever. Make sure the chain has just enough slack to allow the flapper to close fully.
Locate the float mechanism, which may be a ball on the end of a metal arm or a cylindrical cup that slides along the fill valve. If the water level inside the tank is too high, it can cause continuous running. For a float ball, gently bend the metal arm downward to lower the shutoff point. For a float cup, squeeze the adjustment clip and slide the cup lower on the rod. The goal is to have the water stop filling about an inch below the top of the overflow tube.
Examine the chain connecting the flush lever to the flapper. If it is too long, it may get caught under the flapper and prevent a tight seal. Unhook the chain from the lever and reattach it a link or two shorter. Test the movement to make sure the flapper can still open fully when you flush but closes completely when released.
With adjustments complete, slowly turn the shutoff valve counterclockwise to restore water flow to the tank. Let the tank fill and listen closely for any ongoing trickling or hissing sounds. These noises indicate water is still escaping into the bowl, meaning something may still be out of alignment.
To check for small leaks you cannot hear, add three to four drops of food coloring to the tank water and wait about fifteen minutes without flushing. If you see colored water appear in the bowl, there is still a leak that needs attention. If the bowl water remains clear, the repair was successful.
Most running toilet problems can be handled at home, but there are times when professional help is the safest and most efficient choice. Knowing when to stop troubleshooting and call in an expert can save you from bigger plumbing issues down the road.

If you have replaced the flapper, adjusted the float, and cleaned out mineral deposits, yet the toilet continues running, there may be an internal problem with the flush valve or another hidden component. These repairs often require specialized tools and experience to diagnose.
Cracks in porcelain are not only unsightly but can also lead to water damage in your bathroom. If you notice water pooling at the base of the toilet or visible fractures in the tank or bowl, replacement is usually the only safe solution.
When rust or corrosion is present on metal parts inside the tank, it can weaken the structure and lead to failure. Mold, on the other hand, may be a sign of ongoing leaks or poor ventilation, both of which require more than a simple part swap.
Leaks outside the tank can damage flooring and subflooring quickly. If tightening connections does not stop the problem, a plumber can assess whether the issue lies with the wax seal, water supply line, or another hidden component.
Once you have fixed your running toilet, a few simple habits can prevent future problems.
Regular inspections help you spot early signs of wear before they become bigger issues.
Mineral deposits can keep parts from sealing correctly, so a little cleaning goes a long way.
Higher-quality components tend to last longer and resist wear, meaning fewer repairs over time.
If your running toilet issue turns out to be more complicated than expected, our team at Alliance Service Pro is here to help. We provide professional plumbing services that address both simple and complex toilet problems, from replacing worn parts to diagnosing hidden leaks.

With experienced technicians, quality replacement materials, and a commitment to prompt, reliable service, we make sure your toilet is restored to full working order quickly and efficiently. Whether it’s a single repair or a full plumbing inspection, we have the tools and expertise to get the job done right.
Fixing a running toilet is one of the simplest plumbing repairs you can do yourself. It takes only a short time, requires minimal tools, and can significantly reduce your water bill. By following these steps on how to fix a running toilet, you can restore your bathroom’s efficiency without spending much money.
A toilet that works properly also saves water, lowers monthly costs, and prevents potential leaks from causing further damage. Whether it’s replacing a flapper, adjusting the float, or cleaning mineral buildup, these small tasks make a big difference.
Before calling a professional plumber, try these easy fixes and see how much you can improve the situation yourself. You might be surprised at how quickly your bathroom is back to normal—and how satisfying it feels to know you handled the repair on your own. If you find the issue is more complex or you simply want a trusted expert to handle it for you, call Alliance Service Pro today for fast, dependable plumbing service that gets the job done right the first time.
